Route Slip Configuration

  1. Left Column
  2. Center Column
  3. Right Column
  4. Save

Each box has text edit options for Bold, Italic, and Underline. Text edit options are located on the upper left corner. These fields correspond to the columns located on the bottom two-thirds of the printed route slip. The default values are just an example of how you can lay out your route slips.

*The header information that appears on the route slip is generated based on appointment data.

Related Link:
How to use the Route Slip
Patient Info

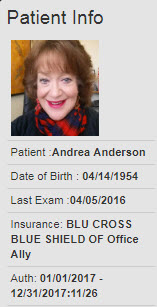
Patient info is a small glimpse of information for the selected patient.

Patient Info displays a photo of the patient. Add Patient Photo
Patient Name
Date of Birth
Insurance- Primary payer will be listed. If there is insurance the company will be listed or non-insured payer name.
Last Exam- Calculated from the checkbox on a visit.
Auth- If there is an authorized amount of visits in a time period entered in patient payer info.

Referring Provider (Patient Menu)

  1. Select Provider – List is populated by master referring provider table
  2. Assign provider – Adds selected provider to list and brings up detail entry tool.
  3. Add referring provider – Add a referring provider to the master referring provider table from this screen
  4. Main – Only one entry can be main. When marked main the referring provider inforamtion will be included in box 17 of the CMS 1500
  5. Referring Provider
  6. Qualifier – Included in box 17 of CMS 1500
  7. Referral Date
  8. Referring Reason
  9. Edit Record
  10. Delete Record

Print Settings

Print settings control printed output from Chart Talk

  1. Font Setting – Changes font and font size for reports
    1. Font – Choose any font (except comic sans!)
    2. Font Size
  2. HCFA Print Setting
    1. Use Preprinted Paper – select this if you will be printing on CMS 1500 blanks, otherwise Chart Talk prints the 1500 form for you.
    2. Use Location Alias Instead of Clinic Name – will override the value in Box 32 with the Location Alias set ‘isservice
    3. Use Location Alias Instead of Rendering Provider in box 33 – will override the value in Box 33 with the Location Alias set ‘isBilling’
    4. X Offset – Value in pixels to shift the CMS 1500 horizontally when Use Preprinted Paper is true
    5. Y Offset – Value in pixels to shift the CMS 1500 vertically when Use Preprinted Paper is true
  3. Statement Setting
    1. Include Charge Comments- will display charge comments on patient statements. Both clinic user initiated and posted 835s from the auto post.
    2. Clinic Message- Text box to type clinic message that is included on ALL patient statements that are generated.
  4. Letterhead Setting
    1. Use Custom Letterhead – When true, the letterhead of SOAP reports will replace the standard clinic information heading with the image uploaded here. Suggested dimentsions are 1700 px X 220 px at 150 ppi, or to your preference.

835 Print Settings

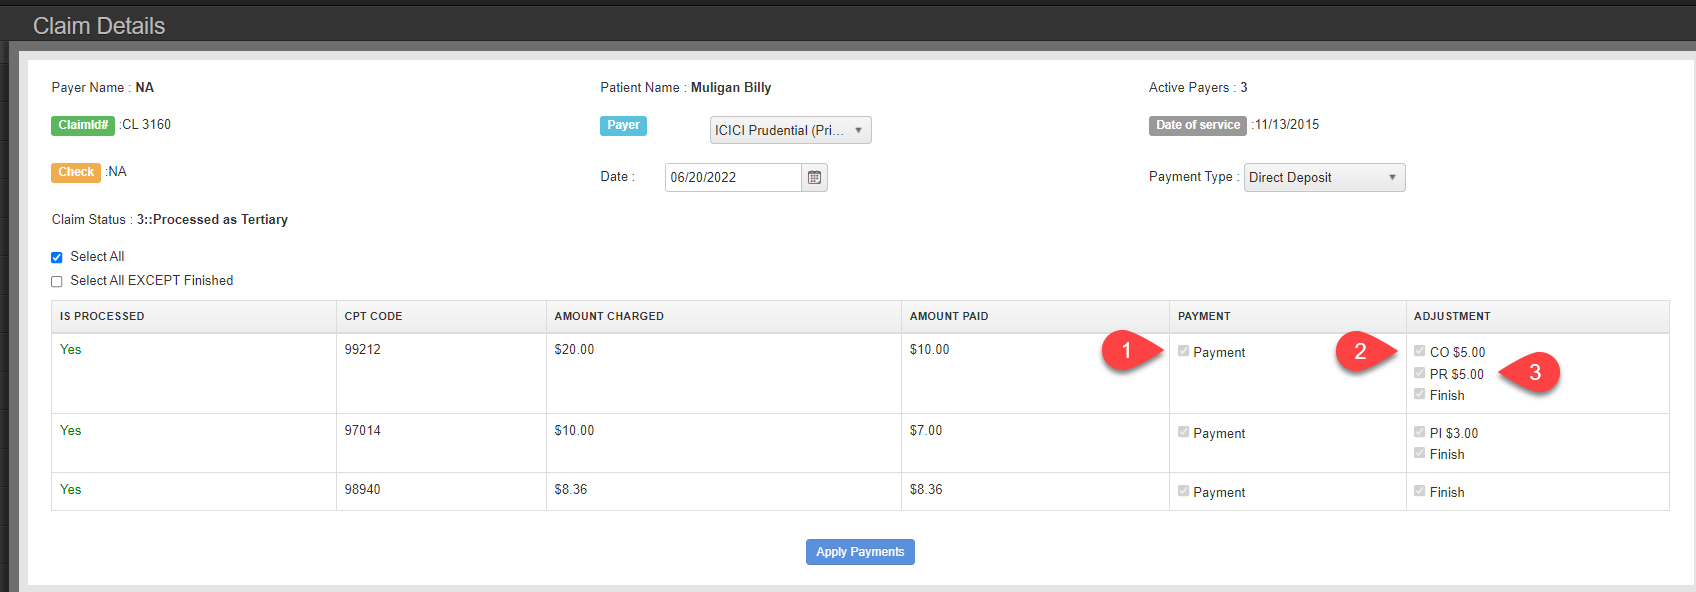
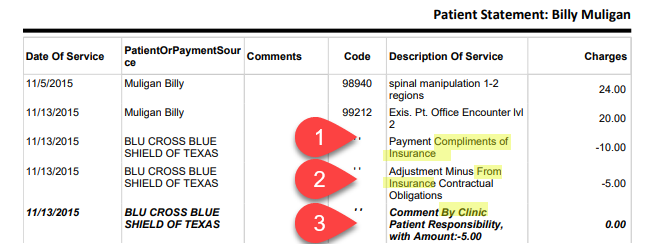
You can add your own explanations to the messages recieved from payers and applied using auto post. Below is an example of the setting on the 1. Print settting screen, 2. Line items from Autopost screen, 3. How it shows up on the patient statement.

1.

835 Electronic Remits

2.

835 Values Received from Payer

3.

Print settings appear on patient statement

Referring Provider

The referring provider master table lists all unique referring providers in your Chart Talk database. You can enter the provider information here, or add a new provider while entering information from the patient navigation menu. The information included here is sometime included in boxes 17 & 17b of the CMS 1500 form.

  1. First Name
  2. Last Name
  3. NPI
  4. Email
  5. Fax
  6. Phone
  7. Address 1
  8. Address 2
  9. City
  10. State
  11. Zip
  12. IsDirect – If this providers email address is a DIRECT address and can be sent DIRECT messages

Employer Detail

The master table lists all employers. An employer can be entered directly here, or if needed, can be done while entering employee information from the patient navigation menu.

  1. Employer Name
  2. Address 1
  3. Phone Number
  4. Address 2
  5. Contact Name
  6. Contact Number
  7. City, State, ZIP

Practice Group

Practice Group is used for billing purposes when a group of clinicians bill under one TIN. Providers that are part of a group should be linked to this group using their User Profile Setup.

  1. Group Name – Arbitrary value, does not appear on claims
  2. NPI – Group NPI
  3. Interchange Qualifer – Usually 30, determined by clearing house
  4. Tax ID – TIN of practice group
  5. SSN or EIN

Patients

Filters

  • Last Name, First Name
  • InActive
  • Filter
  • Reset
  • Create
  • Data Columns – Clicking column header will sort the column

  • Last Name
  • First Name
  • Middle Name
  • Active- If checked patient is active
  • DOB
  • Sex
  • Primary Payer
  • Edit – Click pencil to make changes
  • Message – Click envelope to compose secure message
  • REPORT: Batch 1500

    Purpose
    This report will print all claims matching the applied filters. All claims will print on one multiple page report. Use this option instead of printing each 1500 individually from the billing screen.

    Filter: Start Date, End Date, Payer, Provider, Service Address, Billing Address.

    Header: Title

    By clicking the generate button, all claims with status NEW matching the filter criteria will be output to a 1500 form for printing.

    CLAIM STATUS INDICATOR CHANGE: On the Billing screen, the claim status will be set to Printed.