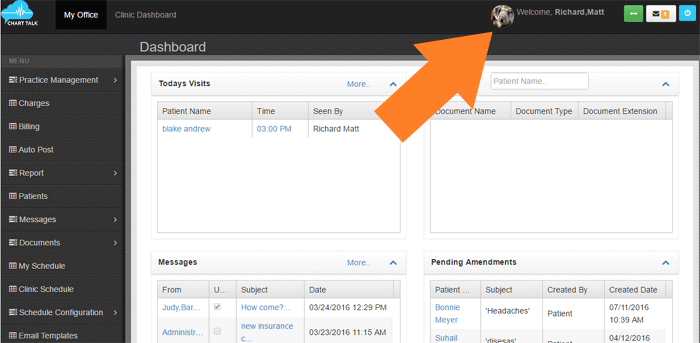
Navigate to Profile by clicking on image at the top of CTC screen.


-
- Profile Photo- Click Image or palce holder to upload new profile image
- User Defaults
- Default Landing Page – When you first log into Chart Talk, you will be directed to your default landing page. Set to Main Dashboard by default.
- Default Patient Landing Page – When navigating to a patient screen, the Default Patient Landing Page will be the first screen you land on.
- Show My Schedule- Users with ‘Doctor’ role only.
- Receive email for every message – his is messages in Chart Talk including messages notifying that a payment was received through the online payment portal, any appointment requests made online, messages created by patients using the patient portal.
- User Name and Email
- User First Name
- User Last Name
- Email- used for correspondence and password reset
A. Verify Email link available if email has not been verified. Only a verified email address can use the Forgot Password link from the login screen
-
- Claim Information
- NPI#- shows on line 24j
- Taxonomy Code
- Tax Id
- Group- Advanced users ONLY. WARNING- if changed could effect practice/provider configuration
- Security
- Password
- Confirm Password
- Logout Time- how much time(mins) before Chart Talk will log a user out.
- Memo
- Enable Memo – Turns memo tool on for user.
- Memo Color – Select what color you’d like memo dock to be.
- Memo Opacity – Choose how ‘See through’ the collapsed memo dock is. Expanded memo is 100% opaque/not see through at all.
- Enable Memo Alert – When true, Memo dock will slide out when you enter a screen with an active memo context.
- SMART Features
- Enable SMART Commands – on the patient documentation screens. The icon shows up as a blue Plus (+) Sign.
- Auto Punctuation. SMART Talk will attempt to place punctuation for you based on your speech patterns. Default setting is off.
- Visit screen auto scroll – Navigate Visit screen hands free by tabbing between fields. The field in focus will appear towards the top of your screen.
- Signature
- Create Signature – launches canvas element to create a signature using touch screen or a mouse input.
- Attach Signature – upload an image. We suggest dimensions of 3 inches wide x . 75 inches high(.png) at 72 dpi
- Button Update User Preferences – Saves all edits made to user preferences and settings.
- Claim Information
B. Smart Commands – Navigate to the user SMART Command library.